So, you've decided it's time for a change and the old carpet has got to go. Whether it's worn out, outdated, or you're simply craving a fresh look, removing carpet is a task you can tackle on your own. Before you dive in, it's important to understand the process and gather the right tools.
Removing carpet might seem daunting, but it's actually a straightforward task if you're prepared. It's all about knowing the right steps, taking your time, and maintaining safety. In this guide, you'll find all the key information you need to get the job done efficiently.
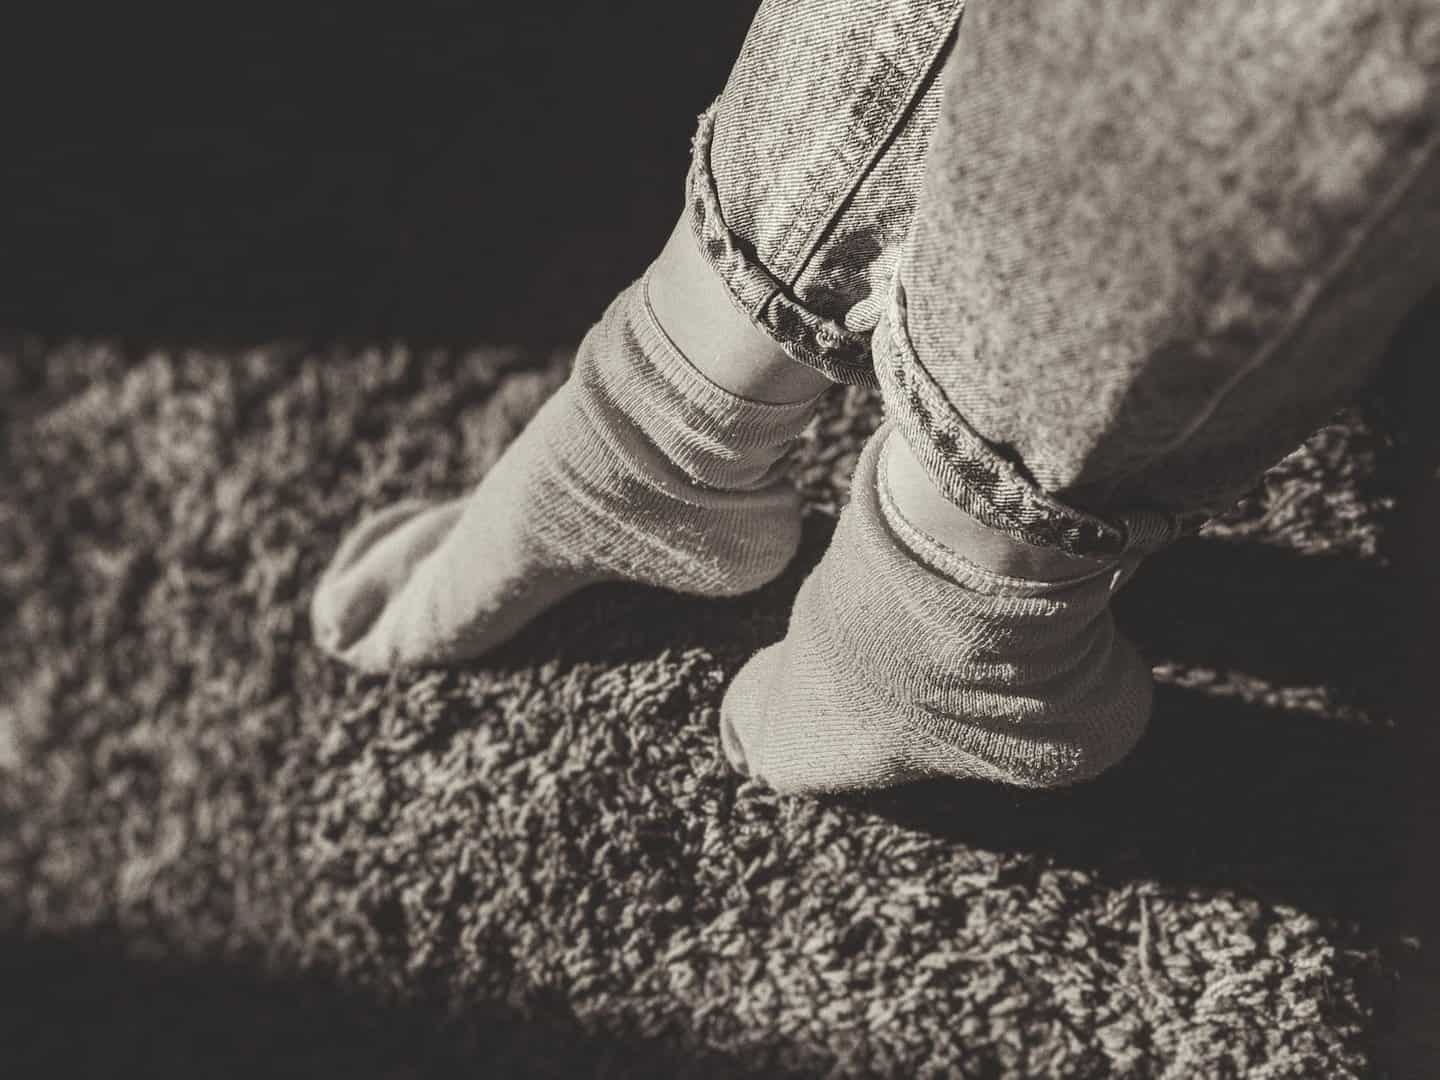
Don't worry if you've never done this before. With a bit of guidance, you'll be standing on your new floor in no time. Let's roll up our sleeves and get started on this DIY project together.
Completing a DIY carpet removal task isn't just about muscle power, it's also about having the right set of tools at your disposal. Armed with the correct instruments, you'll discover that this undertaking becomes a lot less daunting. Get these tools together prior to starting:
First off, you'll need a utility knife. You'll be using it to cut the carpet and underlay into manageable strips. Start slow, as cutting too quick can lead tears in the carpet and might damage the floor beneath.
Next, pliers and a pry bar are required for pulling up the strips you have cut, and also for removing any staples or nails that were used to hold the carpet down. Do this carefully, as sudden movements could lead to damages or injuries.
Protective gear, like a dust mask, gloves, and knee pads, are not to be overlooked. Removing the carpet can kick up a lot of dust and possibly uncover mould or mildew. The gloves will keep your hands safe from the rough textures of the carpet and the staples or nails you might come across. The knee pads will make the job less harsh on your knees, providing the needed comfort for such a challenging task.
Arranging these tools before the removal process will ensure a more efficient execution of the task. You won't have to deal with unnecessary hassle of searching for a tool in the middle of the process. As such, the importance of getting your tools in place before you start can't be overstated.
In the following sections, we'll delve into the step-by-step process of removing your carpet with these tools, getting you ever closer to a carpet-free floor.
Preparation is half the battle when it comes to DIY jobs around the home. The same rule applies when you're about to undertake the task of removing old carpet.
The first requirement? Equipping yourself with the right tools. And we don't just mean a dust mask and gloves. Added to your checklist should be a utility knife* pliers* pry bar* and of course* knee pads. Trust us* this isn't a job you'd want to do on your bare knees. These tools perform specific functions that make carpet removal less of a chore.
Now* mitigating dust and allergens is crucial in this project. Years of dust might have taken permanent residence in the fibres of your carpet. It's an environment in which dust mites and other allergens thrive. So make sure to wear a dust mask and gloves. Mind you* this is non-negotiable for individuals with allergies or respiratory issues.
Are you wondering about the exact process involved? We're getting there.
Carpet removal can be summed down into these basic steps:
Is carpet removal sounding simpler than you thought? Good! Because it gets even better once you start. Just remember* patience is key. It's not a race* it's a home improvement project. It's all about doing it right and saving yourself some pounds on professional carpet removal services! Now* equip yourself* mask up* and get to work.
Before you start slashing away at your old carpet, there's some important work to prep your room. This isn't just for ease of task – the right preparation can actually protect your room and possessions from potential damage.
Firstly, don't underestimate the weight of a carpet. All those years of dirt, dust and debris make even the smallest piece surprisingly heavy. Clear the room of all furniture, and get ready for some heavy lifting. Disconnect all electronics safely and move them out of the room as well.
Secondly, whilst it may look like a blank canvas, your floor is actually full of surprise obstacles. Return air vents, floor registers, even doors can get in the way of a quick and easy disposal. Resolve these issues before you start your mission to remove the carpet.
Thirdly, remember you are dealing with a carpet full of dust, allergens and - if you've been there a while – a host of memories! So suit up appropriately, don all your necessary protective gear. Wear a dust mask along with heavy-duty gloves to protect your hands from staples and other sharp objects.
Finally, take one last walk around the room. Scope it out for any remaining obstacles or unsafe conditions. This is a manual task, so safety and preparation are key. Next, the real task begins: cutting up the carpet and getting ready for removal. But remember, approach carpet removal with patience. The savings from doing it yourself will be worth every second of effort.
You have the tools, the knowledge, and now the plan. You are ready for the next phase. Don't worry, the step-by-step process of cutting the carpet into strips, loosening and lifting the carpet, disposing of the carpet properly, and thoroughly cleaning the uncovered floor, is just around the corner. You're doing this safely, efficiently and cost-effectively. That's what DIY is all about.
So, you've readied your room and are now armed with the necessary tools and are dressed in the appropriate protective gear. The next part of this step-by-step guide to carpet removal navigates you through the actual removal process. It's essential to tread deliberately and carefully during this phase, so let's get into it.
The first key step is cutting the carpet into manageable parts. Carpet cutting should not be rushed. Lay down your knee pads, grab your utility knife and slice away. Begin from one corner of the room, making sure to hold the carpet tight as you cut. It's easier to cut from the back of the carpet where the weave is visible.
Once cut into sizable strips, it's time to fly this carpet ride away. This means peeling the strips from the edge and rolling them up for disposal. Employ the pry bar and pliers in leveraging up the carpet, being gentle to avoid causing damage to the floor beneath.
It's important to note that under the carpet is the underlay which also needs to be removed. Repeat the cutting and rolling process until you've cleared the room.
In between these steps, don't forget to carry out regular clearance of removed pieces out of the room. This way you're not tripping over rolls of old carpet or underlay. Removal and disposal should be immediate to keep the working space clear and hazard-free.
Then there's the least favourite part: tackling the tack strips. These are nailed to the floor around the edges of the room to hold the carpet in place. If they're in good condition and you're planning to install another carpet, they can be left in place. However, if they're old, rusty or you've got another type of flooring in mind, they'll need to be pried up slowly using your pry bar and disposed of carefully due to their sharp nature.
After successfully removing the carpet strips and tack strips, the next critical step involves handling the carpet padding. The padding is the part that cushions your steps and prolongs the life of your carpet. It's usually stapled or glued to the floor and needs special attention to remove.
Make sure you have your gloves on. Start from one corner. Using a utility knife, take your time to cut the padding into small sections. It'll be easier to remove it that way.
Find the staples or adhesive that's securing the padding. To remove the staples, use a staple remover or pliers. If it's glued down, things might be slightly more challenging. However, don't be intimidated. Use a floor scraper to get under the padding and steadily lift it.
If you find spots where the adhesive is particularly resilient, consider using an adhesive remover or solvent. Always remember to work in a well-ventilated space when using solvent; it can give off fumes that you wouldn't want to inhale. In such cases, protective gear like goggles and a respiratory mask become quite essential.
Lastly, ensure you carry the padding sections outside the room as you finish each. This step not only helps keep your workspace organized but also reduces the risk of tripping. Simply roll the sections, tape them together, and take them out of the room.
Following these tips will ensure you remove the padding with as little effort as possible. So, roll up your sleeves and get down to it. Can't wait for the fresh, new space you'll create!
Now that you've diligently removed your carpet and taken care of the padding, it's time to turn your attention to the subfloor. Your task encompasses both cleaning and preparing the subfloor for whatever comes next: be it laying down a new carpet, installing tiles, or applying a chic coat of floor paint.
Why might this be? Well, unless you give your subfloor a good clean, you risk damaging your new floor. Dust, debris, or remnants of adhesives can impact the installation, reducing its lifespan. Sound daunting? Well, no need to fret. We'll guide you through the necessary steps.
First off, make sure you've dealt with all visible debris. Any chunks of old carpet glue, staples or nail heads need to go. A thorough sweep with a stiff-bristle broom should do the trick for larger bits, but feel free to utilise a vacuum for smaller detritus. Brooms and vacuums are superb for cleaning subfloors. They're user-friendly, effective, and—best of all—probably somewhere in your cleaning cupboard already!
Next, check for any unwanted protrusions. If you spot any protruding nails or screws, remove or counter-sink them. Depending on the type of new flooring you're planning to install, stray screws or nails might not just be a hassle, they could be a potential hazard. Always better to play it safe from the onset.
After clearing the subfloor, assess it for any unevenness or damage. Any noticeable cracks, divots, or bulges might need addressing. The severity of these issues will likely determine your next course of action - whether that's filling gaps with a suitable compound, sanding down raised areas, or consulting a professional for more serious damage.
Deal with old adhesive next. You might find remnants of carpet tape, padding adhesive, or other sticky substances on your subfloor. It's essential to remove these thoroughly. An adhesive solvent or scraper can be helpful tools in this process. Once again, patience is your best friend here; take your time to ensure a clean, smooth finish.
Finally, mop the subfloor to clean up any lingering dust or fine debris. Use a mildly soapy solution and mop the entire surface, giving it plenty of time to dry afterwards. A clean, dry, and prepared subfloor provides the perfect foundation for new flooring.
So, you've got the know-how to tackle carpet removal with confidence. Remember, the right tools and protective gear aren't just optional - they're essential. It's all about preparation - clear the room, disconnect electronics, and ensure the floor is obstacle-free. Then, it's time to get down to business - cut the carpet into strips, lift it, and dispose of it responsibly. Don't forget about the underlay and tack strips. Next, handle the carpet padding, remove any remnants, and use an adhesive remover if necessary. Lastly, give your subfloor a thorough clean, check for any damage, and mop it for a smooth finish. With patience and careful preparation, you'll have your old carpet out and be ready for your new flooring installation in no time.
You'll need a utility knife to cut the carpet into strips, a pry bar and pliers to loosen and lift the carpet, and eventually, a broom or mop to clean the uncovered floor.
It's vital to wear a dust mask and gloves to protect against dust and allergens. Also, ensure that the room is clear to prevent accidents during work.
Once you've split the carpet into manageable parts, roll them up and dispose of them according to local waste disposal regulations.
After removing the carpet, cut the underlay into small sections for disposal. When tackling tack strips, use care and wear gloves to avoid injury.
After carpet removal, clean the subfloor thoroughly by removing debris and any old adhesive. Ensure it is flat, checking for irregularities or damage, and finish by mopping the floor.